What is the appropriate level of a compliment? You would think that the
more generic the better since that includes a larger number, but clearly
"You are most beautiful woman", beats "You are the most beautiful mammal". What's going on?
Becoming more specific is not better either. "You are the most beautiful woman in your
forties" does not sound good either, especially as a personal comment. It might
work as a more impersonal compliment in a listing of "sexy women over 40", but
clearly not as a personal compliment. Getting more specific clearly makes it
worse. "You are the most beautiful women over 40 with red hair", is also worse.
Let's put this this on a scale.
Combining the compliment, specific and generic doesn't help either. It also
makes it worse. "You are the most beautiful red haired mammal in your forties" doesn't come out right.
Other categories
There are clearly differences in what category we vary too. Varying time and
geographical area is does not follow a normal curve at all.
Geographical Area
"You are the most beautiful woman in the world", is better than "You are the most beautiful
woman in Sweden with is clearly better than "You are the
most beautiful woman in this household". This seems to follow a more proportional
distribution where larger is better.
Temporal
"You are the most beautiful woman I've ever seen", is better than "You are the most beautiful
woman I've seen this week. At first, it have the same proportionality as area,
but when we come to the far end of time, now, we see a little twist in
appreciation. It is definitely better to be "most beautiful right now" than "this
week".
The only conclusion to draw from this is that compliments are not easy. :)
COP27 is coming up. One topic that wasn't negotiated in COP26 was
population. Currently, global population
is increasing with 80 million people every year.
Smart and influential people argues that aging population is a way bigger problem than over-population
since new generations will not be able to support their elders and keep up
progress.
I believe they are mistaken in two ways:
More people requires more resources and I don't believe the world has enough.
Automation renders a lot of people unable to find sustainable jobs.
Kimberly Nicholas, PhD in Sustainability Science,
argues
that one of the four most impactful things we in the over-consuming world can
do o lower emissions is to have less children.
This should not only apply to the over-consuming world, since people in
developing countries tend to migrate to developed countries and hence become
high emitters like the rest of us.
Kaya
There is a simple formula for calculating global carbon emissions in economic
terms. It is called the Kaya Identity Scenario Prognosticator
and it is named after it's inventor, Yoichi Kaya, a Japanese Energy Economist.
Lowering any of the four categories, will lower our Carbon emissions. Getting
any single one of them down to zero will completely stop our emissions.
Increasing and Decreasing
Currently, two of the categories or decreasing while two are increasing. It's
not hard to understand that this is not an optimal solution.
Carbon Emissions per Unit of Energy
Furthest to the right, we have Carbon Emissions per Unit of Energy. This is the
one most of the fuzz is about. How can we lower the amount of carbon emitted
per amount of energy. The answer is simple, but the implementation is not. We
need to replace fossil energy with fossil free energy, solar, wind, biofuel,
and nuclear. The only controversy is nuclear which I will not dwell on since
I already wrote an article on how
I think we should go all in on Nuclear.
But, thankfully not every country are as squeamish about nuclear as we Swedes and the
Germans are. France is leading the charge and China is planning 150 new nuclear plants.
Energy use per GDP, efficiency
This is how much energy we get for every dollar we spend. This is also called
efficiency and it's something we are very good at. We keep making better
motors, batteries, production methods, etc. There is nothing controversial in this area. We would do this anyway since it is good economy to be efficient.
Economic Growth
This is where the controversy starts to grow. Economists wants growth to be
high since it will allow TODO, while many ecologists wants to stop growth (at
least in the developed world) since they don't think it is sustainable. I agree
that in the developed world, we certainly have room to lower our consumption,
but I'm not sure what it would do to our economy since so many things are based
on this ever increasing growth. But, most of the world just want to reach
a level that doesn't force them to struggle every day. This is a tough nut to
crack.
Economic growth also increases with migration. When people migrate to higher
consumption countries, they increase their consumption.
Population
Finally, population. It's increasing by 80 million people yearly, and it's
expected to peak somewhere around 10 billion people. This is an immense problem
that it seems that no one wants to talk about! It's an ecosystem out of
balance.
Population vs Warming
It is eerie how much population correlates with temperature.
Global Unemployment
Our increased efficiency also increases global unemployment. Yuval Noah Harari has predicted the rise of the useless class when better automation and AI makes many people redundant.
"people devoid of any economic, political or even artistic value, who contribute nothing to the prosperity, power and glory of society. This "useless class" will not merely be unemployed — it will be unemployable".
Vaclav Smil writes in his book, How the World Really Works, that agriculture without carbon emitting fertilizers can only suppport around 4 billion people.
Demographic Transition Model
The Demographic Transition Model shows us that population growth is a temporary phenomena, but will the growth end in time? We are currently somewhere in phase 3.
Growth will end for one reason or another. It could be because we decide to solve it or that we run out of resources.
Births vs Deaths
In this graph we see that the number of births has topped out at around 140 million per year while the number of deaths is only increasing slightly. This is due to a lot lower childhood mortality and because we are living longer across the globe.
Less people need to be born
Less people need to be born. How do we achieve that?
It is not as controversial as killing people or letting them die. A person who isn't conceived doesn't have any human rights.
An uncontroversial idea is contraceptives to everyone who wants them.
Another popular argument is to educate women since educated and working women
apparently have fewer children.
More people need to die. Luckily, we are all mortal and we will eventually all
die. But, is there any way to speed it up without violating human rights?
Abortion? Euthanasia? What else?
The last few months I have spent educating myself about global warming.
I saw the documentary about Greta Thunberg and I figured that she has a point,
so I decided to "Listen to the scientists".
I've read multiple books, finished a couple of Coursera courses and watched
more YouTube videos than a teenager. The conclusion I have come to from all of
this is that it's time to start investing heavily in nuclear power!
The one thing that we can be sure of the coming years is that we will need
a lot of electrical energy. All the energy that is currently used for making
steel and driving cars will need to come from electricity since only
electricity can be created without producing green house gases.
Wind and solar power are great, but they cannot provide the amounts of reliable energy
that will be required.
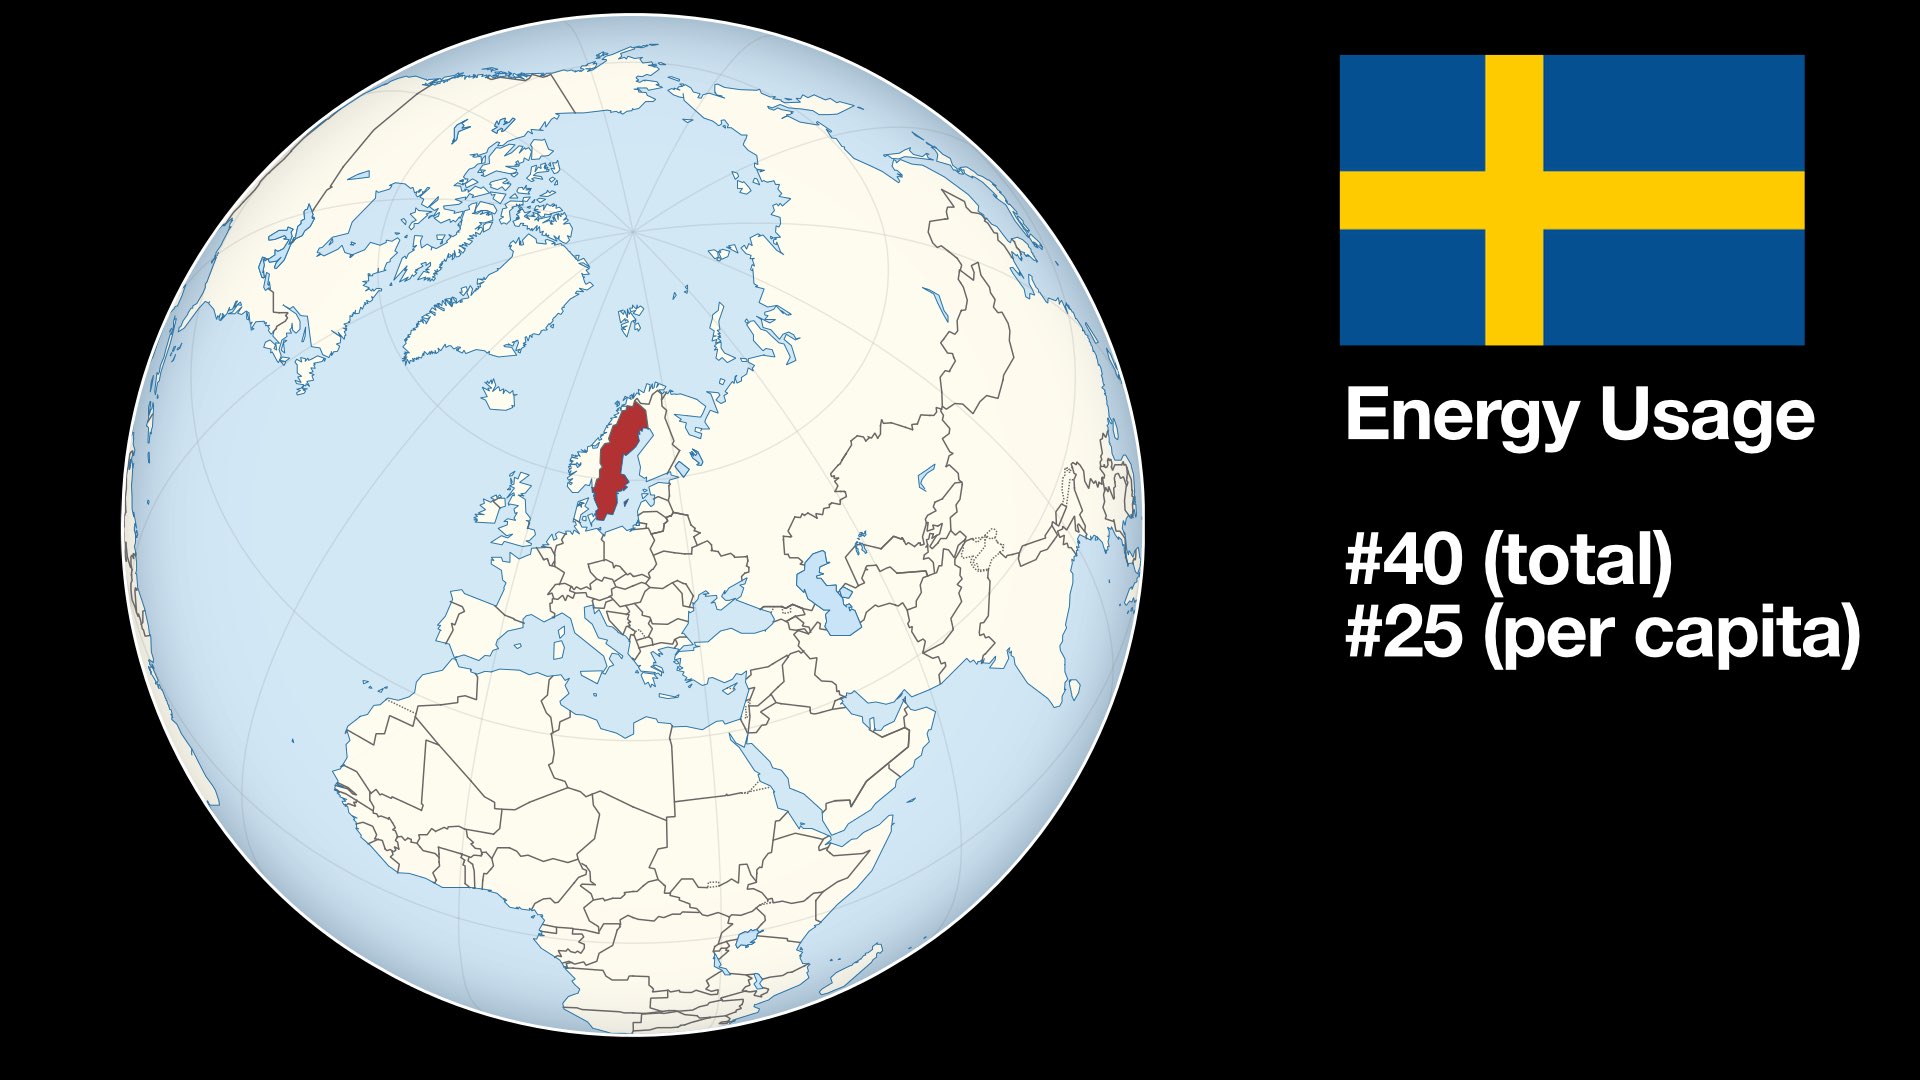
Sweden is a tiny country (#55 in the world by area). Our energy usage clocks in
at around 40th place (#25 per capita). You might think that we are an important
country that can make a difference on the climate.
WRONG! Sweden is an insignificant statistical blip. We use less than half a
percent of the global energy. China uses about 25 percent and the US around 16
percent.
China is currently building one new coal power plant per week in China and
also helping other developing countries build coal plants in exchange for
political power.
How can this be? Isn't China part of the Paris agreement? Yes, but China is
treated as a developing country and, in the name of fairness, doesn't have to
limit it's carbon footprint. The climate doesn't care about fairness.
A Coal plant has an average lifetime of 40 years.
China is by no means the only country trying to expand their fossil fuel usage. It's all over the world!
This means that our hope of reaching the Paris agreement of keeping the
temperature below 2 degrees C is inexistent.
So, what should we do? Should we just shrug and say "Fuck it, we're screwed
anyway".
I don't think so. Sweden is a technologically advanced country and we
can be an example. We can show the world what can be done.
What has Sweden done so far? A tax on plastic bags. For fuck sake!
There has also been other suggestions, but all of them are about the future. In
Sweden, just as in every other country, politicians love to make bold promises
about the future, instead of acting in the present. Promises, doesn't cost
anything, but they don't improve anything either.
Almost 40% of Sweden's energy consumption is fossil-based. All of it has to become fossil-free.
This requires a lot of fossil-free energy.
HYBRIT, fossil-free steel is a really cool invention that is currently worked
on by Swedish mining companies. The coal normally used in the creation of steel
will be replaced by hydrogen produced by water and fossil-free energy.
This requires a lot of fossil-free energy.
Wind and solar produces less than 10% of the energy in Sweden.
Currently, nuclear produces about 27%, down from 33%. This means that almost
all of the carbon reductions we have achieved from building out solar and wind
has been lost due to nuclear reductions.
If we instead of reducing nuclear had increased it, Sweden could have been
almost carbon neutral now!
Nuclear has the smallest carbon footprint of any energy source. It's even lower
that Wind and Solar.
But, what about the risk of accidents? The whole world will be contaminated if
we have a nuclear meltdown. The facts tell a different story.
Chernobyl, the worst accident by far, has killed less than 60 people, to date.
Fukushima has produced 1 dead due to cancer caused by radiation (most people
died in the Tsunami).
Three Mile Island, the accident that caused the nuclear scare in the 70s,
produced zero deaths.
Nuclear power has killed less than a 100 people in 50 years.
Carbon pollution is estimated to be killing more than three million people per
year.
Update: According to some models, link below, Chernobyl is expected to kill +4000 people from long term low-level radiation exposure. It doesn't invalidate my point.
When accidents have been shown to be insignificant, the elephant in the nuclear
room is nuclear waste.
Nuclear waste is classified into three categories, High, Intermediate and Low
Level Waste. Small parts of the High Level Waste (HLW) can stay active for 1000
years.
Only, 3 percent of waste is classified as HLW. If the waste is reprocessed,
as it is in France, the amount is reduced to 0.2 percent.
According to the Nuclear Industry:
They have developed – and implemented – most of the necessary technologies required for the final disposal of all of the waste it produces. The remaining issue is one of public acceptance, and not of technological feasibility.
I don't know enough about nuclear waste storage to know if this is the case or
not, but even if the waste problem is not solved, we need to move forward with
Nuclear.
The experts agree that global warming based on our carbon emissions is putting future generations at risk.
The responsible thing to do it to expand the most effective way to create carbon-free energy.
The time is ripe for nuclear power.
Next time you hear someone say that we need to do this or that for the environment,
ask "How?"
"How, will this make a significant impact?".
"How, will this make us carbon neutral?".
If they can't answer that, they're just wasting time.
References
Books
How to avoid a climate disaster by Bill Gates
This is a great book that has been criticised since Gates is a high poluter that likes to eat hamburgers instead of by the information that it contains. He clearly highlights all the challenges we are facing and does it through an economic perspective that targets business people. If you are not ecomically inclined you may see this as a drawback, but since the move to carbon-neutral must be financed I think that it is a great way to frame it.
Apocalypse Never by Michael Shellenberger Michael Shellenberger is an environmentalist that has become fed up with alarmist communication and tries to tackle many environmental problems with facts. A fantastic book! Among other things, he puts the upcoming catastrophe into perspective. It's not the end of the world.
Klimatkatastofens psykologi by Billy Larsson: Billy Larsson is a psychologist who was written a comprehensive evaluation of many the problems we are facing with climate change. The author doesn't have high hopes that we will pull through this and has started to invest in a farm to do his part to live ecologically.
This Changes Everything by Naomi Klein Noami Klein believes that global warming will force the world out of "deregulated capitalism". Even though I agree with many of the things she writes about, I don't have any hopes that this will force this change. Nevertheless, it's a good book worth reading.
Six Degrees by Mark Lynas Mark Lynas describes the effetct of Global Warming, known as "Global Weirding" as the temperature rises. It's an interesting book showing many of the worst case scenarios that may occur in the future.
Global Warming: Understanding the Forecast by David Archier This book is the litterature behind the Coursera Global Warming course, linked below. It's a in depth book about how the systems of the earth works and how the scientists can know that we are warming up the globe.
Tapir Gazette: So, what do you think about the latest conflict between
the Humans and the Corona Viruses?
Tony: It's about fucking time someone fought back against those bastards.
They've been bullying all other species for far too long!
Tara: Hear, hear! I've been hoping someone would take them on for years,
but there seemed to be no stopping them.
Tuck: Yes, they have been eradicating the rest of us at their expense for
hundreds of years now. I'm glad someone is sticking it to them. Go Corona!
Tara: The worst part is that they think they have a right to this since
they are they Kings of the world. Who wears the crown (corona) now, motherfuckers!
Tapir Gazette: What about the strategy of the Corona Viruses?
Tanya: It was looking pretty good in the beginning, when the mortality rate
was about 6%. That could really have made a dent in the population, perhaps
enough to keep them indoors. But, now it looks like it's more 0.6% and that
won't make a difference in the long run.
Tuck: I think the Coronas should have been more patient. They should have
waited longer before they started taking people out and just infected as many
as they could before striking.
Tanya: Yeah, I agree, they jumped the gun. It would have been better to
stay under the radar for a longer time before coming out in force.
Tara: But it was a smart move to strike in the dictatorships first. It
gave them more time to spread to the rest of the world since the dictatorships care more
about appearances than about people.
Tapir Gazette: What about the human tactics?
Tony: From my perspective the "Shelter in Place" tactics is awesome! The
more we keep the humans indoors the better it is for everyone else. But, from
a human perspective, I don't know. I don't think it will last very long if the
mortality rate stays below 1%.
Tuck: Humans have become so complacent, they can't handle a crisis like
this. If they can't find toilet paper at the store, they riot!
Tapir Gazette: Why do you dislike the humans so much?
Tuck: What's not to dislike? They are the most speciest (racists for species)
assholes on earth. They care about nothing but themselves. Even the richest, so called
philanthropists, only care about helping people at the expense of the rest of
us.
Tanya: Yeah, have you seen the population curves? They are totally crazy.
Tony: Yeah, they are the real pandemic!
Tapir Gazette: Any final words, anyone?
Tuck: I hope it's not my final words, but who knows these days ;). I don't
think that all humans are assholes, some of them try to make a difference. The
latest report from Living Planet shows
that at least some people seem to care.
Tanya: I wish I had your positive mindset Tuck, but I can't see anything
bright about our future. The only good human is a dead human. At least they are good fertilizers!
Note: The names of the tapirs have been changed to protect them from retaliation.
Three years ago, I moved with my family, wife, two kids and two dogs, from Sweden to California to work for a
subsidiary of a Swedish company called Jayway Inc.
Jayway Inc. was located in Palo Alto, the heart of Silicon Valley. Silicon
Valley is a wide valley that is situated between two mountain ranges, the Santa
Cruz Mountains along the cost, and the Diablo Range on the other side of the
bay. The area is known as "the Bay Area" to locals since the bay stretches
through the whole valley from San Francisco in the north to San José in the
south.
San José, the lesser know of the two cities is actually the larger
of the two with a population of more than 1 million. San Francisco has around
800 thousand.
Working
During my three years I mainly worked for Walmart and it's membership part,
Sam's Club. Walmart is the largest private company in the world, both in terms
of revenue, $500 billion, and in terms of employees, 2.2 million. There are two
non-private organizations which have more employees than Walmart, the U.S. and
the Chinese armies.
Working in a huge organization like this may be intimidating, but the teams I
worked with were surprisingly nimble and we were expected to take initiatives
and responsibility for what we did. There was no micro-management and, if
anything, I have had to little input on what direction to move in.
The three projects I worked in were very disparate.
The first was the test tools team, where I helped out to build tools for
testing mobile applications "in the cloud" with Sauce Labs and Firebase Test
Lab.
My second project was a re-write of the backend for Sam's club's Scan and Go
application. An application where you use your mobile phone to scan products
and checkout without having to stand in line.
In my third project, I worked on Kubernetes for WCNP, the Walmart Cloud Native
Platform. A cross-platform offering that allows Walmart teams to deploy their
applications to GCP, Azure, and one of 5000 VM-Ware installations in the
stores and distribution centers. Quite a challenge.
Leisure Time
When not working, it's possible to do anything in the Bay Area.
The mountains surrounding the bay, twenty minutes away, allows for hiking and
mountain biking. On a typical trip you will see wild turkeys, coyotes and deer,
and if you are really lucky, mountain lions.
On the coast, the waves are spectacular and provides among the best surfing in
the world. Half Moon Bay, and Maverick's beach is host to a yearly big wave
surf competition known as Titans of Mavericks.
If you are fond of climbing, Planet Granite has three climbing centers in the
bay area and if you want to climb outdoors, Yosemite National Park is less than
4 hours away. I recommend watching "Valley Uprising" and "Free Solo" before you
go.
There is also iFly if you want to learn how to skydive in a wind tunnel or a
number of small private airports if you want to take flying lessons.
For skiing, Lake Tahoe is 4 hours away, depending on traffic. Our longest trip
took 12 hours.
Lake Tahoe holds a number of skiing resorts. During our time in the states we tried out Heavenly, Kirkwood, North Star and Squaw Valley. They were all good for different reasons.
Traffic
Traffic is awful! The 101, a 5 lane highway through the heart of the
valley is congested during rush hours. Rush hours are between 7 and 10 in the
morning and 4 through 7 in the afternoon. At this time it will take you at
least twice as long as it normally does to go from one place to another. This
means it will take two hours to go from San José to San Francisco, if there are
no accidents!
The 101 is also far from a safe highway. Many places have potholes the size of
a tire and if you are not paying attention you may easily get a flat.
Taking trips to Tahoe or Yosemite on popular times, such as the weekend, will
also take you a long time even if the weather conditions are good. If it's a
snow storm, forgettaboutit!
One way to speed up your travel is to use the car pool lanes. This is one or
two lanes that are dedicated to people with two or more people in it. This
helps, but since you may also use it if you drive an electric car, in the area
where there is most Tesla's per capita, it doesn't help much.
And since this is the U.S. of A., there is another solution, Pay for it. In many
areas, the car pool lane has been replaced with a Fast-Track lane, it allows
you to pay to use the lane and the price depends on what time of day you are
driving. Why should the rich have to wait for poor people? That is just silly!
Americans also drive differently than Swedes. Many drivers choose one of the
lanes and then stick to that lane for the entire trip, no matter what speed
they are going. It's quite a contrast to Sweden where the left lanes are used
for passing and you normally drive in the right-most lane.
Caltrain
Caltrain is a train that runs through the entire valley, from SF in the north
all the way down to Gilroy in the south. It is diesel powered and feels very
dated compared to the Swedish trains. The road crossings are amazingly stupid.
Most are in the same plane as the roads and often have a traffic light on the
other side of the track with room for one car. It is easy to become stuck on
the tracks when the lights switch to red. A lot of accidents has happened
because of this.
Not everything is bad about the trains though. The cars have two floors and can
fit quite a lot of people. But, the best part is the bicycle cars. These are
cars where the lower floor is for bicycles and they take around 40 per car.
This is awesome and better than anything I have seen anywhere in Europe.
The bikes are stacked along the walls and the loading and packing is managed by
the riders. It is simplified by most bikes having a label describing its
destination.
Money
Everything costs money here. A membership in the YMCA, one of the cheaper
training facilities, costs about $80 a month. If you want to go to a more fancy
place, it can easily set you back $250 a month.
Lunch at an okay restaurant will cost you about $15 with water to drink and no
tip included. The normal tip for food and drink is 18 percent. Tipping at a
service facility such as a massage parlor is 20 to 25 percent. Get used to it.
That's how it works here.
But, if you spend money, you can buy anything. There are wineries and breweries
everywhere, not just in Napa and Sonoma. Want to smoke some weed? Just go to
any of the local dispensaries or have it delivered to your door. Cannabis is
legal in California for both medical and recreational use!
What else can you have delivered? Any food can be delivered by DoorDash,
GrubHub, UberEats or any of tens of other delivery services.
Want to have yourself delivered? Order an Uber or a Lyft and you will have a
car at your door in less than five minutes that takes you where you want to go.
It even works at 5 in the morning when you need to catch an early flight.
Going to the doctor or dentist may also cost you if you are not paying
attention. Even though the Jayway insurance was really good, a doctor may still
(a dentist will definitely) suggest that you get a procedure that is not
included. Always ask "Is it included in my insurance?" before you say yes to
anything.
Health Care
The health care system is very good, if you have good insurance. The health
care providers I was in contact with had very short access times and it was
easy to an appointment. They were also proactive and scheduled a variety of
different checkups to help me stay aware of my health.
In Sweden this is not the case. Most people go to the doctor when they are sick
and not to prevent you from becoming sick.
When I go to a doctor in Sweden, I would say that they will take the minimum
amount of tests that they think are required. In the US, it felt like the
opposite was true. A lot of tests seemed to be taken that were not strictly
necessary, but they could be motivated and they will profit the hospital and
thus were taken.
This may be good for you as a patient, but it is not good
for society as a whole since it is wasteful and will increase the overall cost.
Schools and Kids
The schools that my kids attended were awesome. They are ranked as some of the
best public schools in the country and when I compare it to the schools that I
went to when I was young, both in Sweden and in the U.S., it is fantastic. The
students are motivated and so are the teachers. My son, who didn't do much in
school in Sweden, did his homework without any interference from us. Talk about
positive peer pressure. Even though the schools are technically free, you are
expected to give a voluntary donation of $500 per child and year.
Sport as part of the school activities is free(ish), but if your kids want
sports outside of school, they have to join a club. The clubs are great, but
expensive. My daughter's diving practice has an Olympic coach from Ukraine,
they practice 6 days a week and it costs us $550 a month and nothing except
training is included! For comparison, her Swedish club, costs about 600 SEK
($60) a year and travel to all competitions is included.
Government
If you ever been in contact with a U.S. Government you know why so many
Americans are republicans. Any contact with DMV or IRS makes you want to kill
yourself. The only reason there aren't any DMV shootings in the United States
is, because they have a metal detector when you enter their facilities. People
probably go and shoot up the nearest school after their latest Governmental visit.
As if visiting a Governmental office in person is not bad enough, their
telephone service is beyond bad. Imagine a telephone service where you are
supposed to talk to the service instead of pressing buttons. The service is
configured in deaf grand-mother mode and again you are looking for your gun!
Watching the following DMV scene from Zootopia will give you a rough idea, but
reality is worse.
Weather
The weather in the Bay area is typically sunny from the beginning of April to
the end of October. This is quite a treat for a Swede! It's nice to be able to
plan a hike or a BBQ for next week without having to worry about rain!
But, the weather varies a lot from place to place. The temperature in the south
bay can be a lot warmer than the weather on the coast or in San Francisco. I
once drove from 90 degrees (30C) in Saratoga to 60 degrees (15C) in San Francisco.
It taught me to always carry an extra jacket in my car.
I'll end this with a sunny day at the Sonoma Raceway, you can see the beginnings of the Sonoma and Napa valleys in the background.